Capturing wildlife in its natural habitat is exhilarating, and using natural light effectively can transform your photos from ordinary to extraordinary. Natural light varies throughout the day and mastering its nuances can significantly enhance your wildlife photography. Here’s a comprehensive guide to help you leverage natural light for breathtaking wildlife shots.
The Golden Hours: Morning and Evening Magic
The golden hours, shortly after sunrise and before sunset, offer soft, warm light that’s perfect for wildlife photography. This light adds a golden hue to your images, creating a magical atmosphere. During these times, shadows are longer and softer, providing depth and dimension to your photos. Plan your shoots around these hours to take advantage of the beautiful, flattering light.
Midday Challenges: Handling Harsh Light
Midday sunlight is harsh and direct, often creating strong shadows and high contrast. While this light can be challenging, it’s not impossible to work with. Use the shadows to your advantage by focusing on subjects in partial shade or utilizing backlighting to create a silhouette effect. Additionally, overcast days offer diffused light, reducing harsh shadows and providing even illumination, making it a great time for wildlife photography.
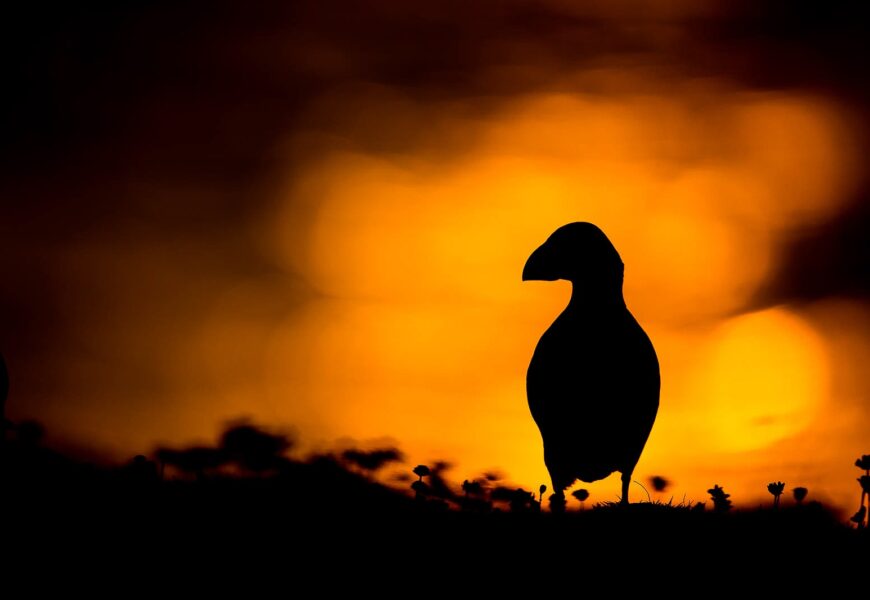
Backlighting: Creating Silhouettes and Highlights
Backlighting occurs when the light source is behind your subject, creating a glowing rim light and highlighting the edges. This technique can produce dramatic and ethereal images, especially when photographing animals with fur or feathers. Position yourself so that the sun is behind the animal, and expose for the highlights to create a silhouette or for the shadows to capture the details in the fur or feathers.
Side Lighting: Adding Depth and Texture
Side lighting, where the light hits your subject from the side, enhances texture and depth. This lighting angle emphasizes the contours and details of the animal, creating a three-dimensional effect. Side lighting works particularly well in early morning or late afternoon when the sun is low, casting long, soft shadows.
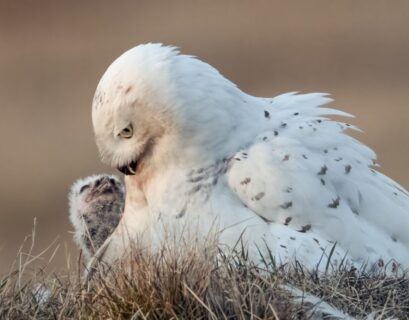
Front Lighting: Ensuring Clarity and Detail
Front lighting, where the light source is behind you and directly illuminating your subject, ensures even lighting and highlights the details. While it can sometimes make the image appear flat, it’s excellent for capturing clear, detailed shots. Use front lighting for portraits or when you want to showcase the intricate details of an animal’s fur, feathers, or scales.
Overcast Skies: Embracing Soft, Diffused Light
Overcast days provide soft, diffused light that eliminates harsh shadows and reduces contrast. This lighting is ideal for capturing the natural colors and details of wildlife without the risk of blown-out highlights or deep shadows. Embrace cloudy weather and use the even illumination to your advantage, especially for close-up shots and portraits.
Using Natural Reflectors: Enhancing Light Naturally
Natural reflectors, such as water, snow, sand, or light-colored rocks, can bounce light onto your subject, providing additional illumination and reducing shadows. Position your subject near these reflectors to make use of the extra light. This technique is particularly useful when shooting in shaded areas or during times when the light is less than ideal.
Spot Metering: Achieving Proper Exposure
In wildlife photography, achieving proper exposure can be tricky, especially with varying light conditions. Use spot metering to meter off your subject rather than the entire scene. This setting ensures that the animal is correctly exposed, even if the background is significantly lighter or darker. Spot metering is particularly useful in backlit situations or when the subject is in a shaded area.
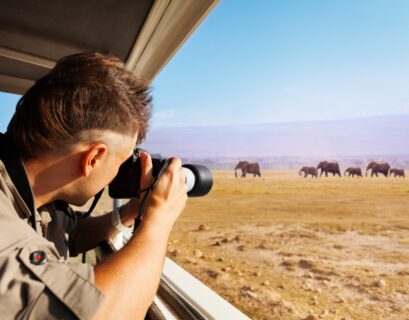
Adapting to Changing Light: Being Flexible and Prepared
Natural light is dynamic and can change quickly, especially in outdoor environments. Be prepared to adjust your camera settings on the fly. Use aperture priority mode to control the depth of field while allowing the camera to automatically adjust the shutter speed. Alternatively, manual mode gives you full control over exposure settings, enabling precise adjustments as the light changes.
Practice and Patience: Perfecting Your Techniques
Mastering the use of natural light in wildlife photography takes practice and patience. Spend time observing how light interacts with your subjects at different times of the day and in various weather conditions. Experiment with different lighting angles and techniques to discover what works best for you. With persistence, you’ll develop an intuitive understanding of how to use natural light to create stunning wildlife images.
By effectively harnessing natural light, you can elevate your wildlife photography, capturing the essence and beauty of animals in their natural environment. Remember, the key to success lies in understanding the light, being adaptable, and continuously practicing your craft. Happy shooting!