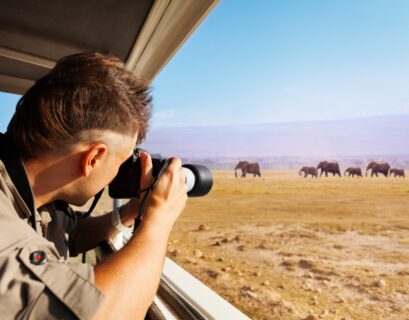
Capturing the beauty of wildlife in its natural habitat is a thrilling and rewarding experience. However, achieving stunning wildlife photos requires a solid understanding of your camera settings. Here’s a comprehensive guide to help you optimize your camera for wildlife photography, ensuring you capture those perfect moments in the wild.
Shutter Speed: Freezing the Action
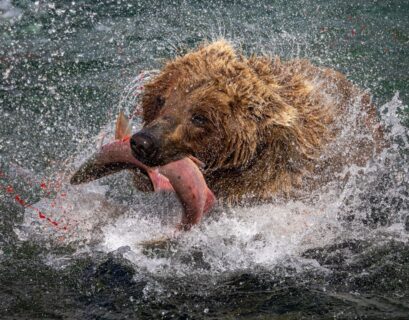
Wildlife often moves quickly, making shutter speed one of the most critical settings. A fast shutter speed, generally between 1/1000 and 1/4000 of a second, is ideal for freezing the motion of animals. For birds in flight or running mammals, a higher shutter speed will help you capture sharp, clear images. Experiment with different speeds based on the activity and size of the subject.
Aperture: Balancing Depth of Field and Light
Aperture controls the depth of field and the amount of light hitting the camera sensor. For wildlife photography, a wide aperture (small f-number, such as f/2.8 or f/4) allows more light and helps isolate the subject from the background, creating a pleasing bokeh effect. However, be mindful of the depth of field; too wide an aperture might result in parts of the animal being out of focus. Adjust according to the situation, but prioritize a wide aperture for most wildlife shots.
ISO: Adapting to Lighting Conditions
ISO sensitivity affects your camera’s ability to capture light. In wildlife photography, you often shoot in varying light conditions. Start with a low ISO (100-400) in bright light to avoid noise and graininess. In low-light situations, increase the ISO to maintain a fast shutter speed, but be cautious of noise. Modern cameras handle higher ISO settings well, so don’t hesitate to push it to 1600 or even 3200 if necessary to achieve the right exposure.
Autofocus Mode: Keeping Your Subject Sharp
Wildlife rarely stays still, making autofocus mode crucial. Use Continuous or AI Servo autofocus mode to track moving subjects. This setting allows your camera to continuously adjust focus as the animal moves. Pair this with a dynamic or group-area AF setting, where the camera uses multiple focus points to maintain focus on the subject, even if it moves unpredictably.
Metering Mode: Properly Exposing Your Shot
Metering determines how your camera reads the light in a scene. For wildlife photography, matrix or evaluative metering works well in most situations, as it considers the entire frame to set exposure. However, for high-contrast scenes, such as a brightly lit animal against a dark background, spot metering can be useful. Spot metering reads light from a specific part of the scene, allowing you to expose for the subject rather than the entire frame.
Shooting Mode: Flexibility in Capturing the Moment
Wildlife photography demands quick reflexes and flexibility. Use burst or continuous shooting mode to capture multiple frames per second. This setting increases your chances of getting the perfect shot, especially when animals are in motion. Combine this with a high-speed memory card to ensure your camera can handle the rapid sequence of images without lag.
White Balance: Accurate Color Representation
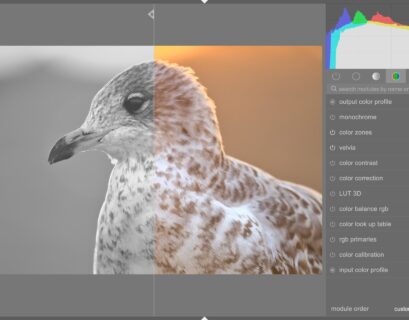
White balance ensures your photos have accurate colors. While Auto White Balance works well in most scenarios, consider adjusting it based on the lighting conditions. For example, use the daylight setting for shooting in direct sunlight or the cloudy setting for overcast conditions. Custom white balance can be set using a gray card for precise color accuracy.
Image Stabilization: Reducing Camera Shake
Image stabilization (IS) or vibration reduction (VR) helps reduce camera shake, especially when using long lenses. While it’s not a substitute for a fast shutter speed, it can be beneficial in low-light conditions or when panning to follow a moving subject. Ensure IS is activated on your lens or camera body for handheld shots.
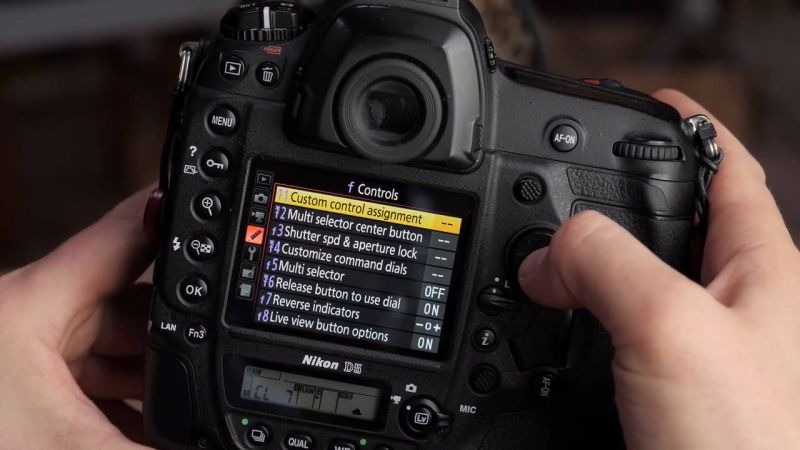
Customizing Settings: Personalizing Your Experience
Modern cameras offer customizable buttons and settings. Personalize these options to suit your shooting style and preferences. For instance, assign frequently used settings like ISO adjustment or autofocus mode to specific buttons for quick access. Customizing your camera setup enhances your efficiency and responsiveness in the field.
Practice and Patience: Perfecting Your Skills
Finally, mastering camera settings for wildlife photography requires practice and patience. Spend time learning how your camera responds to different settings and lighting conditions. Practice tracking moving subjects and adjusting settings on the fly. Over time, you’ll develop an intuitive understanding of your equipment, enabling you to capture breathtaking wildlife images.
By mastering these camera settings, you’ll be well-equipped to photograph wildlife with precision and creativity. Remember, the key to great wildlife photography lies in understanding your subject, anticipating its behavior, and being prepared to capture the moment when it happens. Happy shooting!